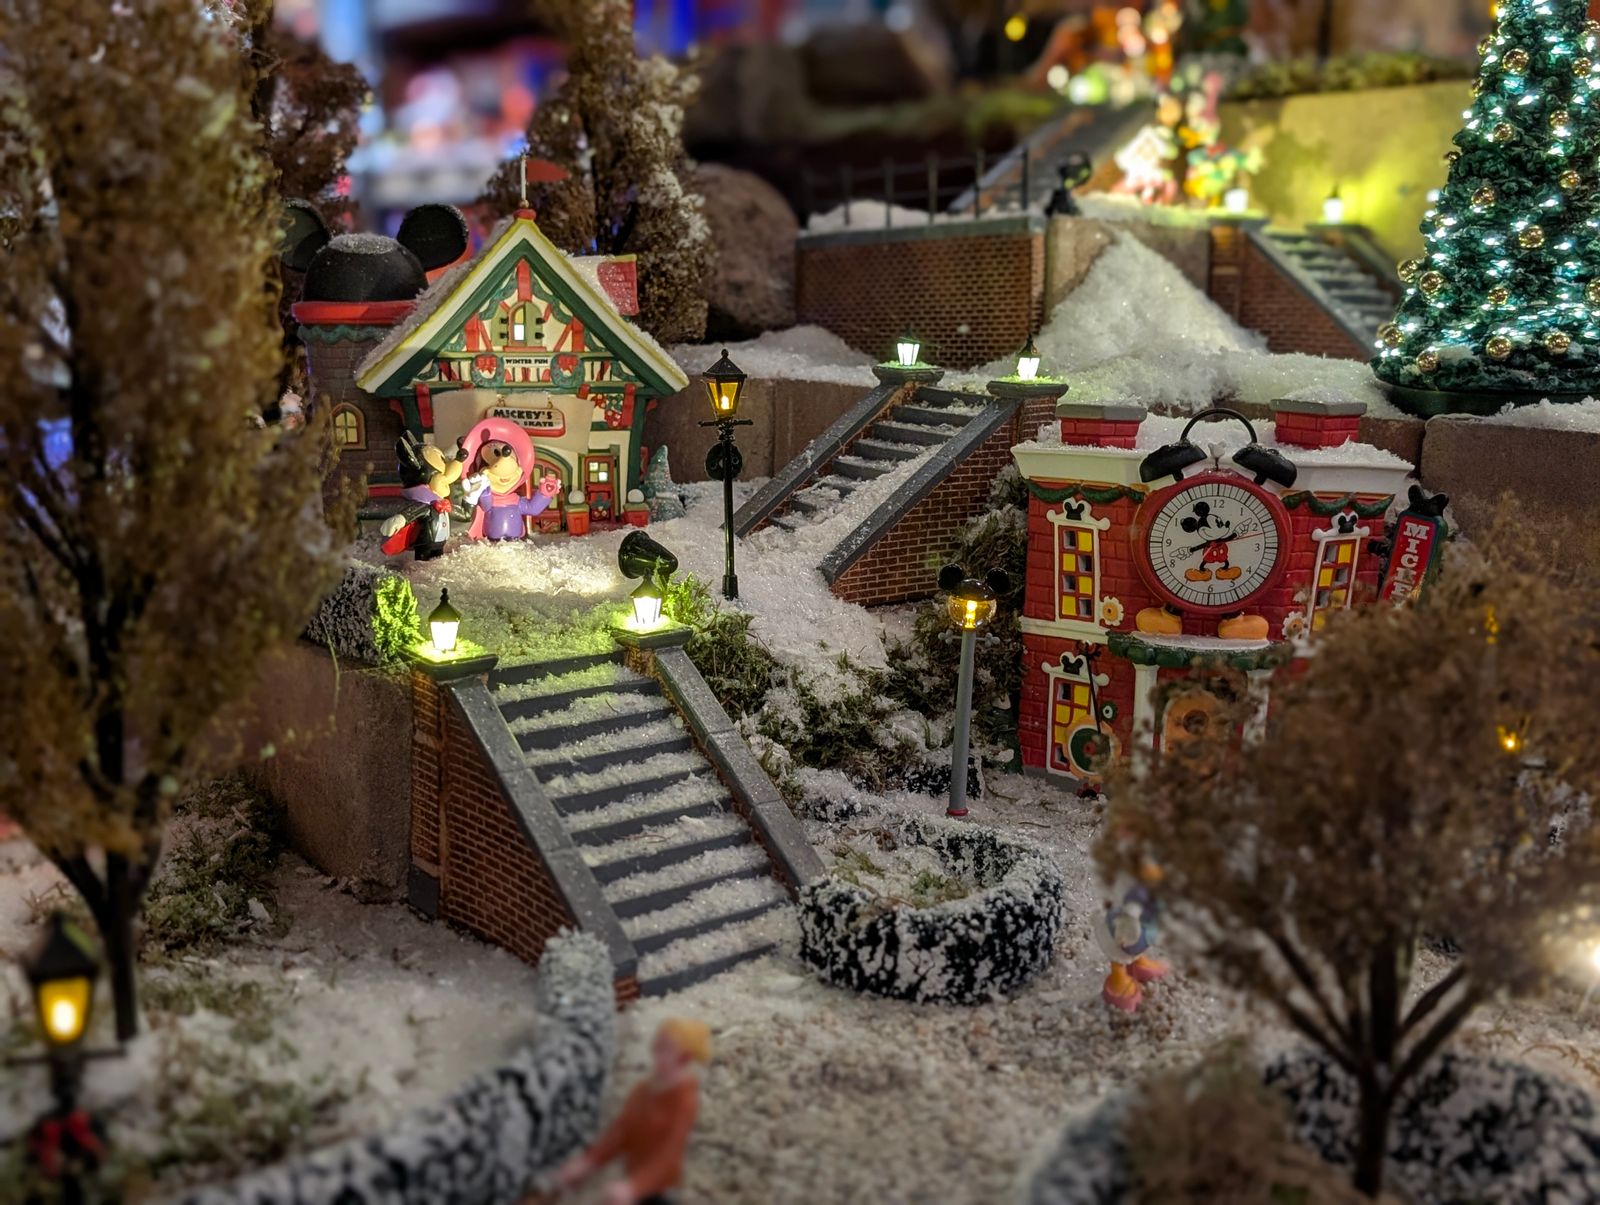
Step-by-Step Guide: Installing and Positioning LED Lights in Your Mini Gingerbread Village
Installing and positioning LED lights in this mini gingerbread village follows the included instructions, because every gingerbread house is already equipped with its own warm LED. This guide cannot add a splice, a polarity test, or a wire color the listing does not print. Positioning is where the finished house sits so the warm light faces the room.
Stay with the included sheet while installing
Installing, on this listing, is not a from-scratch electronics project. The page says every gingerbread house is equipped with its own warm LED, and the usage lines say to follow the included instructions and to assemble each mini building with the pieces in that numbered compartment. A builder who expected a bag of loose diodes, a resistor, and a soldering step will not find that plan in the words on the page. The supported action is to build the house as the sheet shows and to press each building block until it is firmly connected.
There are three gingerbread houses, so this part of the build can fall on up to three different nights, whenever those compartments appear. The description does not assign the houses to dates. The Christmas tree, Christmas train, Santa's sleigh, gingerbread man, snowman, candy canes, wreath, squirrel, and mailbox are not described as lighted, so they are not part of the light install. Treating them as extra lamp housings would add holes and cords the set does not include. If a thin part seems to sit between two blocks, follow the diagram for that day rather than forcing the joint or inventing a splice.
Positioning a finished house toward the room
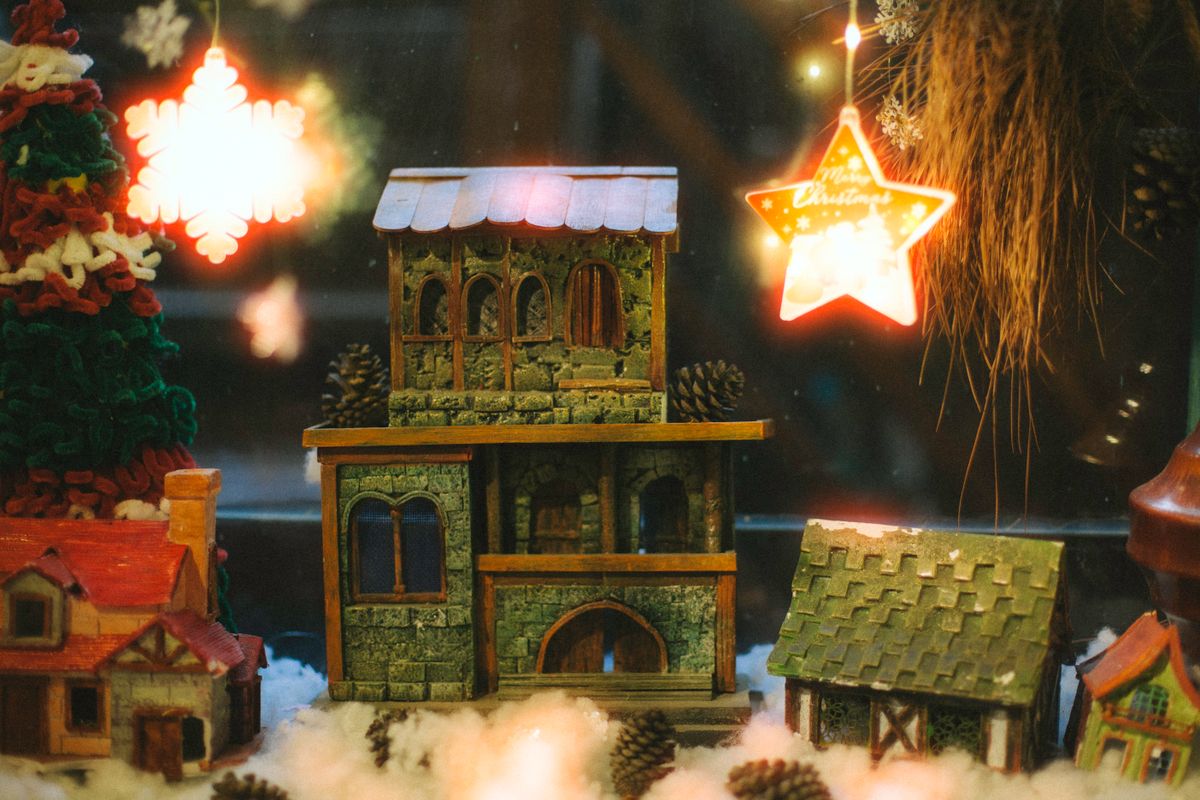
Positioning starts after the house for that day is firmly built. Turn the facade toward the people who will see the village, and keep a little space in front so a tree or a figure does not cover the warm LED. The soft illumination is described as adding warmth and depth. That only happens if the light can leave the house. Setting a house with its face into a wall, or stacking later accessories against the front, wastes the only lamp the listing confirms.
The page does not give a viewing distance, a table width, or a mounting height. A flat tray or a clear stretch of table is enough. Houses that will share the scene should sit near one another so the three warm points read as one village rather than as isolated dots. Do not rest the roof against a curtain or a cloth. The listing does not discuss heat or clearance, and it does not say the LED can be pulled out and moved to a different building. Position the house. Do not relocate the lamp to the train or the sleigh.
Leave unlighted accessories clear of the facade
The snowy village includes more than houses. A scarf-wearing snowman, a gingerbread man, candy canes, a wreath, a squirrel, a mailbox, a bakery, and bread are named, along with further accessories the page does not list one by one. They belong beside the glow, not across the front of it. A tall piece directly in front of a warm LED turns the effect into a shadow. Slide those pieces to the sides or slightly behind the houses once the house itself is in its final spot.
The countdown still rules the order. Start on December 1 with the box marked 1, then one numbered box each day through December 24. Do not open a later house box early just to finish the lighting. The store product name is Christmas Village Advent Calendar, listed at $29.95. The supplier line reads INSOON. Those facts name the set. They do not add a wiring diagram, a battery size, or a piece count. When the instructions for a house are finished and the blocks are firm, installing and positioning for that house are done. A dark result after that point is not solved by a splice the page never describes.
Installing steps versus steps the page omits
| Action | Supported by the listing | Not supported | | --- | --- | --- | | Build the house | Included instructions | A loose-diode kit | | Join the blocks | Press until firmly connected | A splice or a new hole | | Notice the LED | Warm LED on each house | A wire color or battery | | Place the house | Where the glow can be seen | Moving the LED to the train | | Other pieces | Tree, sleigh, and figures | Using them as lamp housings |
Install checks while a house is open
Photo by Werner Redlich on Pexels
- Open only the numbered box for that day, starting with box 1 on December 1.
- Follow the included instructions for the pieces in that compartment.
- Press each building block until the connection is firm.
- Look for the warm LED as part of the house, not as a separate kit.
- Turn the finished facade toward the room so the glow is visible.
- Keep the tree, train, sleigh, and figures off the front of the light.
- Do not splice, drill, or borrow a part from a later box.
Installing and positioning questions
Does installing mean wiring a loose LED?
The listing does not describe loose LEDs, a polarity check, or a wire color. Installing, as the page allows it, means assembling the gingerbread house with the included instructions so that the warm LED the house is already equipped with can do its job.
How should a finished house be positioned?
Place it on a flat surface with the facade toward the people who will see it, near the other houses once they exist, and with a clear space in front of the glow. The page gives no measurement for that gap, so the test is simply whether the warm light can be seen.
Which pieces are not part of the light install?
The tree, train, Santa's sleigh, snowman, gingerbread man, candy canes, wreath, squirrel, mailbox, and the other named accessories are not described as lighted. They are positioned around the houses after they are built, and they should not cover the warm LED.
What if the house is still dark after the sheet is done?
Reread the included instructions for that compartment and check that every block is firmly connected. The listing does not name a battery, a switch, or a reset, so the fair stop is there, without splicing a lead or opening another day's box to borrow a lighted part.
Related reading
Install and assembly notes for gingerbread house lights are in these guides.
- Micro LED notes for mini gingerbread house sets
- Install and troubleshooting steps for village lights
- Assembly order for an LED gingerbread village
What to do next
When a gingerbread house compartment is open, follow that sheet from the first piece to the last firm connection, and look for the warm LED only as part of that build. Set the finished house where the glow faces the room and is not blocked by the tree or the figures. If the house stays dark, reread the sheet once and then stop, because no wire route is printed on the listing.
Cover photo by Werner Redlich on Pexels.