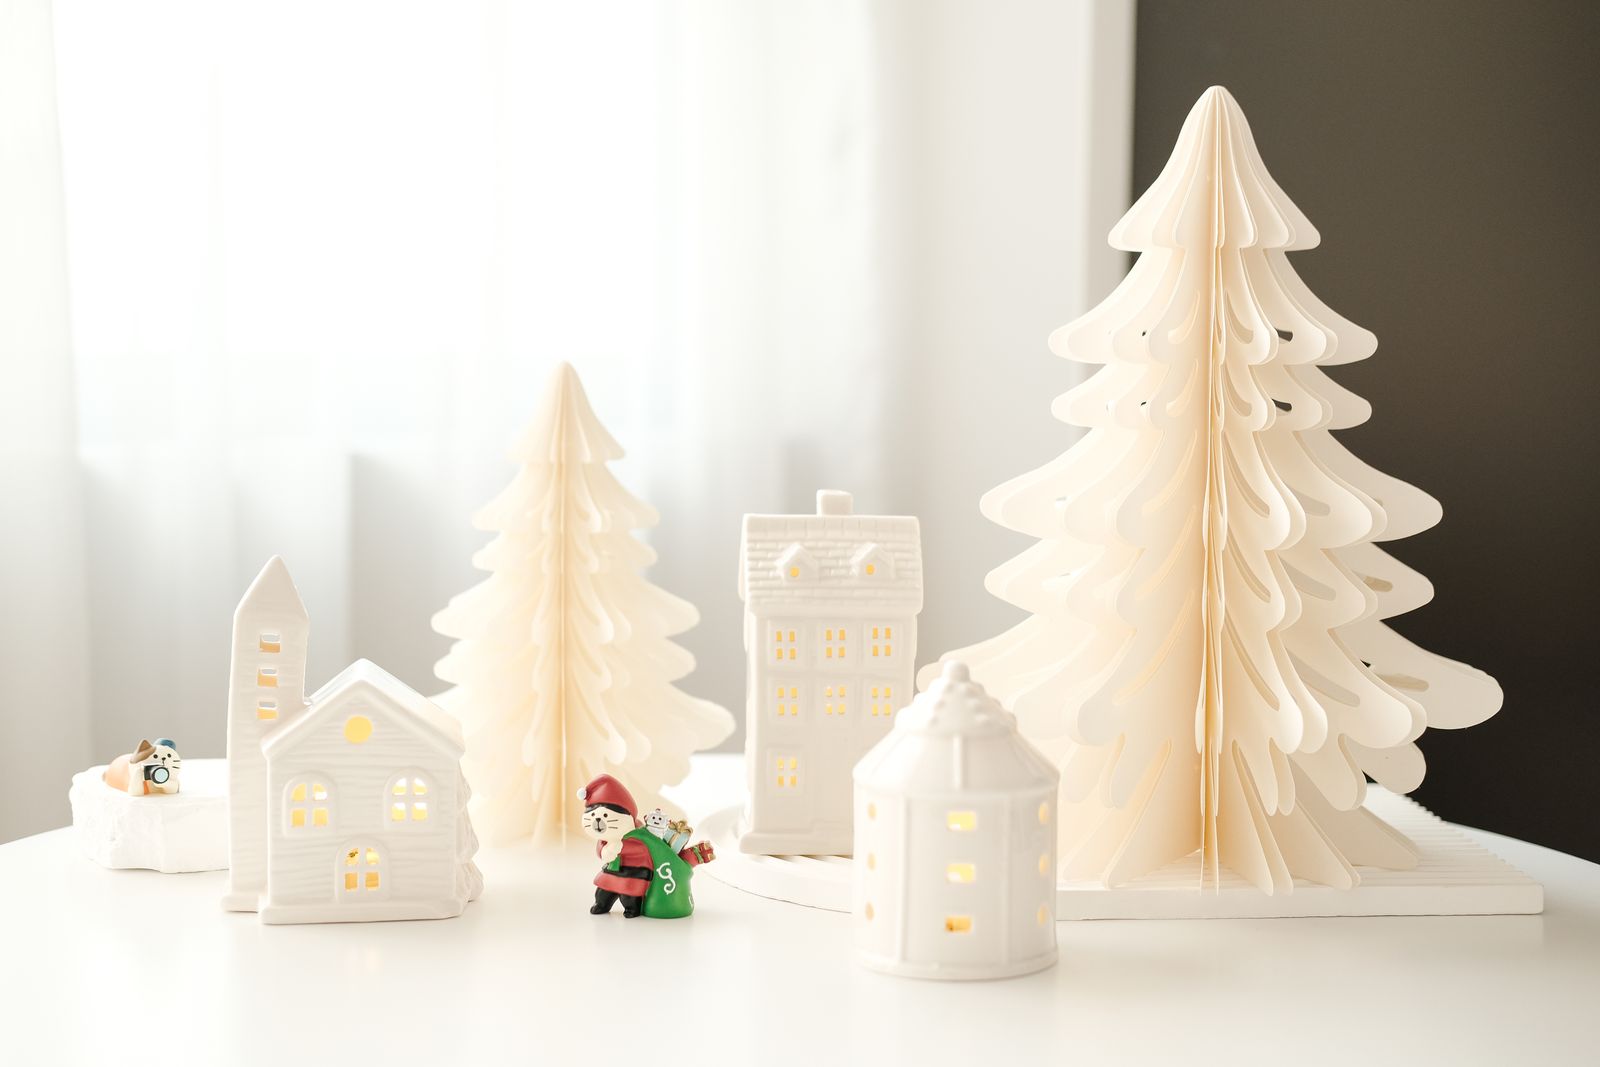
How to Build and Display Your Lighted Christmas Village Advent Calendar: Assembly & Lighting Guide
This assembly and lighting guide explains how to build and display a lighted Christmas village advent calendar when each gingerbread house already carries its own warm LED. Assembly follows the numbered boxes from December 1 through December 24, with firm connections and the included instructions. Lighting, on this listing, is that built-in warm glow, not a strand or a retrofit the page never describes.
Build from box 1 through box 24 without skipping ahead
Assembly order is the lighting schedule, because the glow arrives with the houses and the houses arrive in their own numbered boxes. Start on December 1 with the box marked 1. Open one number each day through December 24. Skipping ahead to hunt for a house spends later days and leaves the display lopsided. The page does not publish which number hides which building, so the honest method is to take the compartments in order.
Each session uses the pieces in that compartment and the included instructions. Empty the compartment into a tray, follow the diagram, and press every building block until it feels firm. Then stop. A short house section is still a full day's assembly. A small accessory is also a full day. The listing does not give a piece count, so there is no quota to hit before the box can be called done.
The scene under construction includes three gingerbread houses, a Christmas tree, a Christmas train, Santa's sleigh, a gingerbread man, a scarf-wearing snowman, candy canes, a Christmas wreath, a squirrel, a Christmas mailbox, a bakery, bread, and further accessories. Only the houses are tied to light. Building the other pieces still matters, because they are what makes the lighted houses read as a village rather than as three objects on a bare shelf.
Seat each lighted house as soon as its blocks are firm
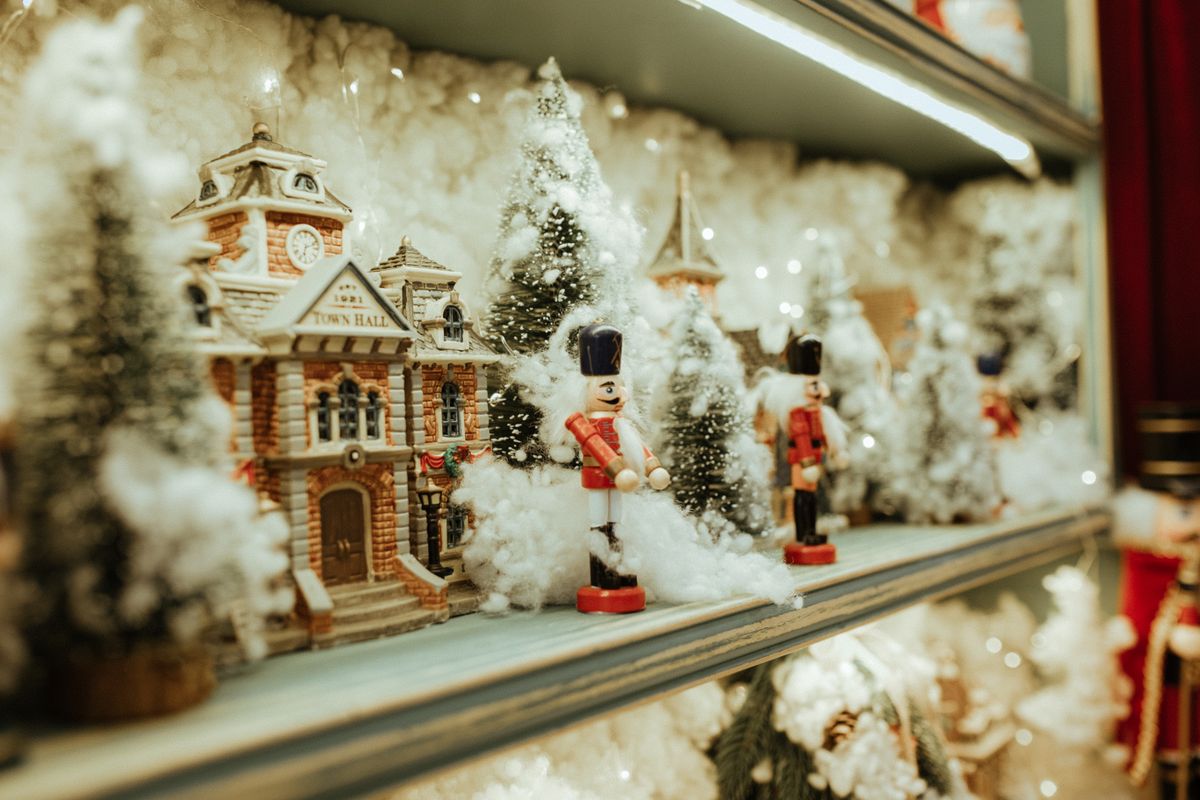
Photo by 🇻🇳🇻🇳Nguyễn Tiến Thịnh 🇻🇳🇻🇳 on Pexels
Display begins the night a piece is finished, not after December 24. Choose the surface first: a sideboard, a low shelf, or a cleared end of a table that can stay reserved. When a gingerbread house is the day's result, give it a spot the room can see. The warm LED is the feature the listing highlights, and a house hidden behind a taller tree wastes that feature.
Arrange unlighted pieces around that glow. The train and Santa's sleigh can sit low in front, like a path. The snowman, gingerbread man, candy canes, wreath, squirrel, and mailbox can mark the edges. The tree can stand just behind the houses if it does not cover them. These are placement choices using the named pieces. They are not extra parts.
Firm connections matter more once the houses anchor the scene. A loose wall on a lighted house is more visible than a loose brick in a tray. If a block shifts while the piece is being moved to the display, separate it and press it again. The supplier line on the set reads INSOON. The paper instructions remain the assembly reference if a step looks ambiguous.
Use the warm LEDs as the lighting plan the listing gives
The listing says every gingerbread house is equipped with its own warm LED, and it describes the result as a soft glow that adds warmth and depth to the finished display. That is the lighting plan. It does not state a color temperature, a battery type, a switch location, or a wire route. Adding those details from another product would be fiction. This guide stops where the page stops.
Because the LEDs are described as equipment on the houses, lighting is not a craft project of drilling, splicing, or hiding a strand. If a finished house does not show the expected glow, the safe step is to reread the included instructions and to recheck that the blocks are firmly connected. The page does not provide a repair tree, a bulb size, or a power source, so those should not be improvised.
The store product name is Christmas Village Advent Calendar. By the last night, three houses can carry the warm light while the train, sleigh, tree, and figures complete the scene without being described as lamps. That split keeps the display honest and keeps the assembly focused on the pieces in each day's box.
Assembly steps and lighting limits
| Topic | Do this | Do not assume | | --- | --- | --- | | Order | Box 1 on December 1, then one a day | Which day hides a house | | Connections | Press each block until firm | A loose stack will hold | | House light | Use the warm LED on each house | A separate lamp kit | | Other pieces | Display tree, train, sleigh, figures | That they glow too | | Power details | Follow the included instructions | Battery type or wire map |
Display and light check after each house
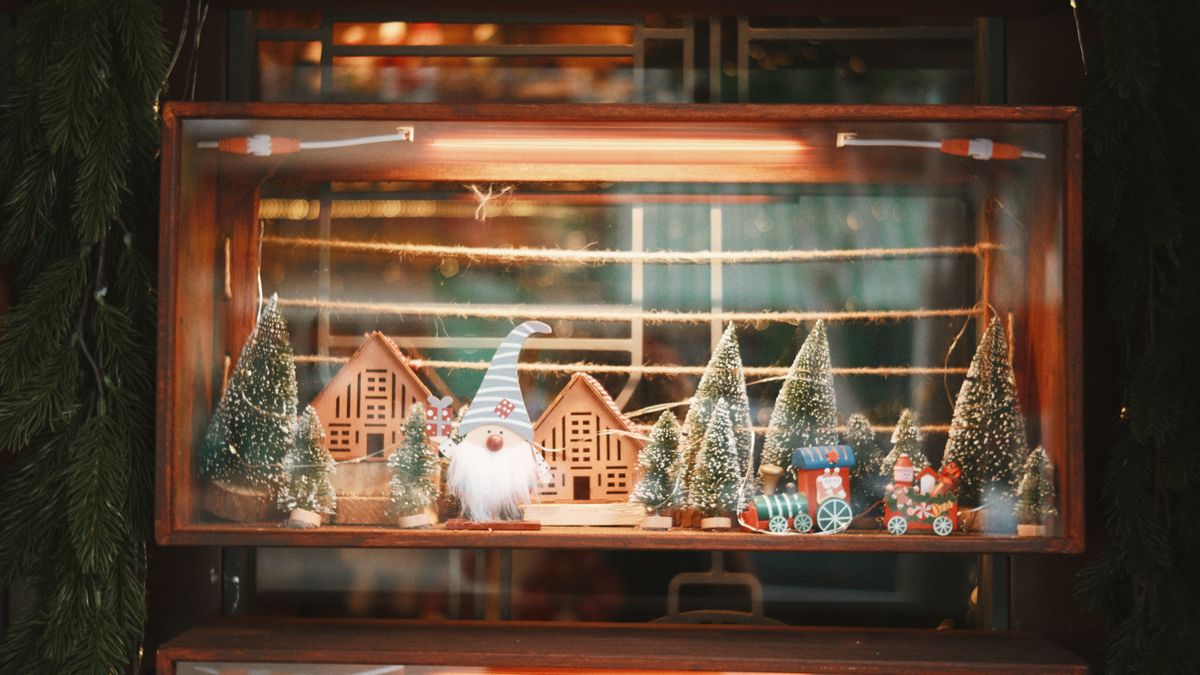
Photo by 🇻🇳🇻🇳 Việt Anh Nguyễn 🇻🇳🇻🇳 on Pexels
- Confirm the day's box number is the next one in sequence.
- Assemble only that compartment from the included instructions.
- Press connections firm before the piece is carried to the shelf.
- Face each gingerbread house so its warm LED can be seen.
- Keep the tree and other tall pieces from blocking the houses.
- Leave train, sleigh, and figures unlighted unless the instructions say otherwise.
- Stop for the night without opening the next number.
Assembly and lighting questions
When will the village actually look lighted?
The warm LED is part of each gingerbread house, so the glow starts when the first of those houses is assembled and grows as the other houses are built. The listing does not say the houses are all inside box 1.
Can extra string lights be added?
The page does not describe external strand lighting, batteries, or a wire path. The lighting it does describe is the warm LED already on each gingerbread house, and that is the plan this guide follows.
What if one house stays dark?
Recheck the included instructions and press the house connections until they feel firm. The listing does not give a bulb size, a battery type, or a repair sequence, so those details should not be invented on the spot.
Does display wait until December 24?
No. Each finished piece can go on the reserved surface the same night, which is how the lighted scene grows. Waiting until the end hides the countdown the numbered boxes are built to provide.
Related reading
Lighting and layout choices sit beside these three guides on format, longevity, and modest gifts.
- why a household might pick a wooden village calendar
- traits that define a wooden village calendar
- choosing a village calendar for a small gift
What to do next
Reserve the display surface before December 1 and read the included instructions without opening every box. Each night, assemble only the next number, press the blocks firm, and set the piece where a finished gingerbread house will be easy to see. Let the warm LED on each house be the entire lighting plan, and leave later boxes closed through December 24.
Cover photo by Ngân Dương on Pexels.